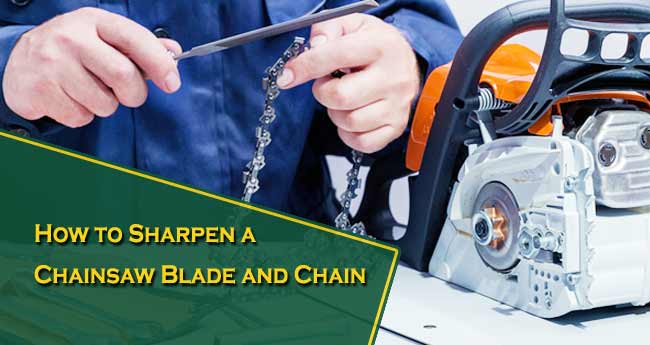
Being able to sharpen the blade and chain is one of the most basic and useful skills you could have as a chainsaw owner. While getting it sharpened professionally is a great option, honing the skills to get it done at home can save you a lot of time and money.
However, admittedly, sharpening a chainsaw isn’t as straightforward as, for instance, tightening the chainsaw chain. To make this process as easy as it can be, we’ve put together a guide.
Once you’re done giving it a once-over, you should know when and why to sharpen the blade and chain, the tools needed, and of course, how to sharpen the components.
Why Do I Need to Sharpen the Blade and Chain?
Chainsaws, even the beginner-friendly models, are very heavy-duty. They go through immense friction, pressure, wear and tear every day. It’s not surprising that the chain can become blunt over time and require sharpening.
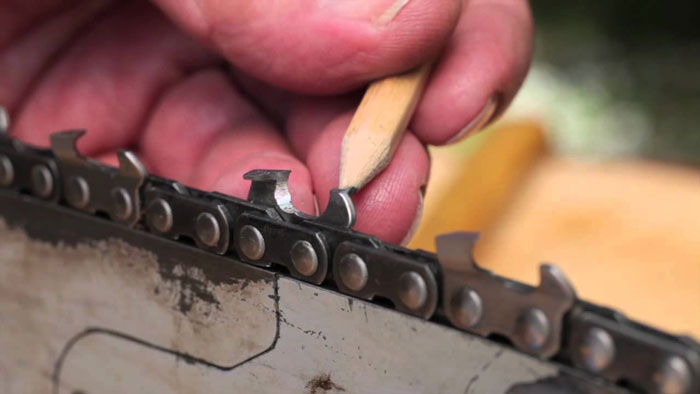
Regardless of your tool being a gas-fueled chainsaw or electric chainsaw, it will require regular maintenance, which includes sharpening. So how do you know when the chain requires sharpening?
For starters, the chainsaw will start producing fine sawdust instead of chips while making cuts. You may also notice that you’re having to exert pressure while cutting instead of the chainsaw doing its job effortlessly. Despite being well lubed, there could be smoke while working. Kickbacks may become more frequent.
Once you notice any one of these signs, you should consider sharpening immediately. Dull chainsaw blades and chains will result in higher consumption of fuel but for half the efficiency of a sharpened chain. They may lead to more kickbacks, which can be immensely dangerous for the user.
Before We Begin
Before you start sharpening the tool, make sure you clean the blade thoroughly of any debris or grease. Leaving any debris on the blade will compromise the quality of your blade while sharpening. Any residue bar and chain oil will result in lubricant build-up on the file, eventually rendering it useless.
Pull the spark plug as a safety measure and make sure to wear gloves and eye protection at the very least. Examine the chain for imperfections. If there are any broken or chipped links, missing rivets, or heavily damaged cutters, it’s better to have them replaced immediately before going into sharpening.
Additionally, adjust the tension in the chain to make it slightly tauter than you would have it during operation. This keeps the chain from moving around unless you pull it.
Sharpening Process for Chainsaw Chain and Blade
There are several ways in which you can sharpen your chainsaw components. Let’s take a look at each method closely.
Filing
Filing each tooth by hand is as old school as it gets. Using a handheld file requires some level of patience, both to learn and execute, but remains foolproof even today. For this method, you will need a round file, a flat file, a file guide, and a depth gauge guide.
You may secure the chain on a bench vice or keep it on the bar. Find the perfect round file by using the pitch of your chain to find the diameter that will work best for you. Fit the round file onto the gullet keeping the file in contact with the cutting edge and not the base of the gullet or depth gauge.
To position the file at the correct angle (which is usually 25 or 30 degrees), line up the markings on the tooth with the round file. Several manufacturers provide such markings on the top plate of the tooth. You can also DIY these markings by drawing lines at 25, 30, and 35 degrees on a piece of wood before you begin sharpening.
Once you have positioned it, you’re ready to start filing the chain. Remember that round files are designed to sharpen in only one direction, which is away from you. What does that mean? All it means is that you have to pull the file away from yourself for it to sharpen the cutter.
Note that every alternate tooth needs to be sharpened in the same direction. It’s best to complete every other tooth before moving to the other slide of the bench or chainsaw to complete the rest.
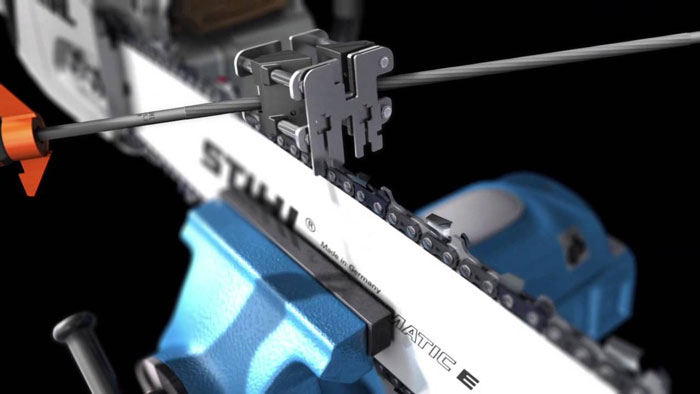
Having filed the cutting edge, you can now move onto the depth gauge. The depth gauge is the component that regulates how much wood the cutters will bite off. If the depth gauge is too high, the cutters will not be able to reach the wood at all. To do this, you will need the depth gauge guide and flat file.
Place the depth gauge guide on the chain with the hole right on top of the gauge. If the gauge protrudes out of the guide, it needs to be filed down to the same level. A simple flat file will do this job very easily.
Be careful to not file the guide itself as filing away even one-tenth of a millimeter each time will result in incorrect readings in the future.
The Dremel
Dremel’s sharpening tool is one of the most popular sharpening tools in the market for a good reason. The rotary tool comes with three grinding stones in 3 different sizes. Now, the first task is to identify which stone fits perfectly into the gullet of your chain. Once you have done that, it’s time to assemble the Dremel.
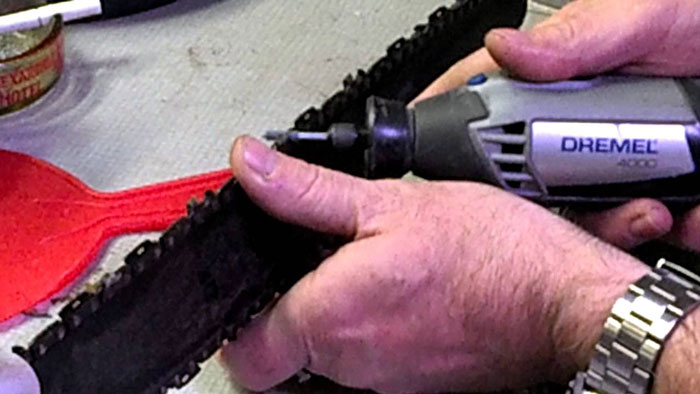
Lodge the grinding stone into the rotary tool and attach the gauge to the screw-on attachment (the thinnest grinding stone will not require a spacer, the second one will require one spacer whereas the thickest stone will require two spacers between the gauge and screw-on attachment).
Screw the set up on to the Dremel. Keep tightening the screws holding the gauge till the grinding stone is perfectly parallel to the gauge. Next, fit the grinding stone into the tooth of the chain and line the angle marking on the gauge with the blade. Once the angle is set, all you have to do is switch on the Dremel and let it do its job!
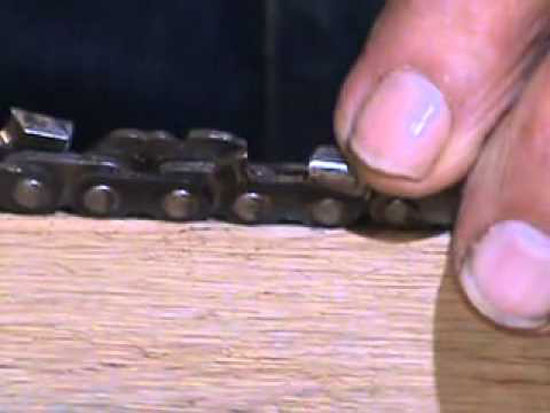
All it takes is about 2 seconds per tooth, and you’ll have a razor-sharp chain in no time! This is the best chainsaw sharpener for those who are not looking to learn a new skill or technique and want a simple solution for blunt cutters.
Using Electric Sharpener
We won’t lie to you, getting the hand of an electric sharpener is not easy at first. While sharpening itself is made effortless by the machine, getting acquainted with it and its several moving parts is not. Before using the tool, use a stone to remove any residue from the grinding stone. Secure the chain in place using the lever at the front.
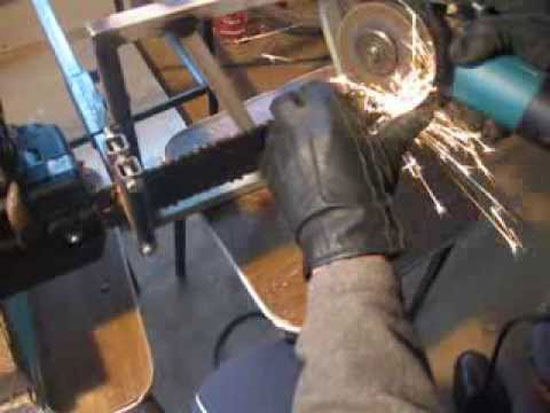
The smaller clip-like attachment, called the ‘stopper,’ keeps the chain in place by pushing the tooth towards the grinding plate. Ensure that the angle at which the grinding plate will meet the cutting edge is set to the correct value by manipulating the knob on the top left.
The knob on your right will control how deep the grinding disc should go into, and it can be easily adjusted according to the depth of the gullet. Last, but certainly not least, check the specifications of your particular chain to find the tooth angle. This angle needs to be set at positive for each alternating tooth and negative for the rest.
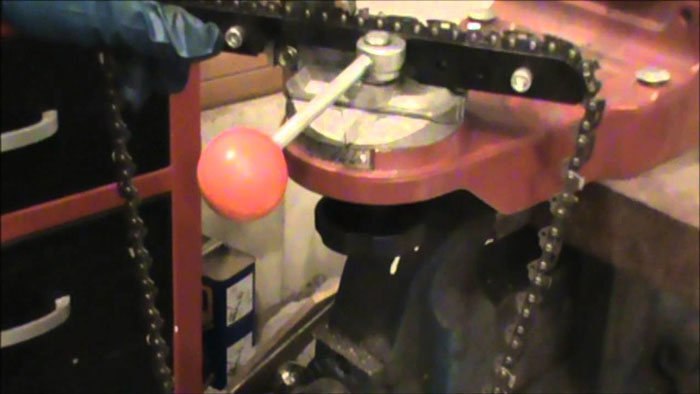
Once all the angles have been set, and the chain has been secured, you simply have to pull the grinding plate component down and switch the tool on. The grinding plate moves at lightning speed and gives you impeccable results in a fraction of a second.
Conclusion
If you’ve taken all this trouble to sharpen your chainsaw blades, it only makes sense to go the extra mile to complete the process. Once you are done sharpening the blade, reattach the chain to the bar (or correct the tension). Next, clean off any debris or dust and lather the tool generously in bar and chain oil before use.
As with any tool, chainsaw maintenance techniques keep getting easier with practice. Eventually, you will develop a feel for the correct angles and positions as well as be able to break out of the guideline provided by the manufacturer to find out what works best for you.
The general rule is to sharpen the chainsaw every time you refill the fuel tank. However, if you’re an occasional user of the saw, it will suffice to get it done before every task just remember to lube the parts regularly. We hope this guide comes handy to you and helps you save time, effort, and a pretty penny, too.
You can Read:
- Newbie Guide on how chainsaw works
- How to untangle chain without getting hurt?
- Get good quality dremel bit for cutting wood

