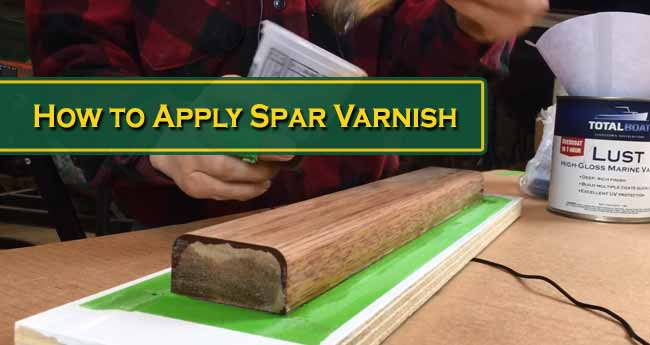
You are quite done with your woodwork project – maybe a fine piece of furniture you want to place at your backyard, or the new front door, intended to be seen at first when someone arrives at your home.
You give an impressed look at it and think to yourself, “Now that’s something dashing!”. Great job, dude! Take a fist bump!
But hey, you still have one finishing touch pending! You have to varnish it, which is as crucial as other processes of your work. Varnishing will beautify your wood even more and give it a sleek look!
Now, are you wondering how to carry it out? Fret not, because I’ve got you covered. Read along to get a complete guide on how to apply spar varnish to your woodwork.
Why Use Spar Varnish?
This is a matter of confusion among a lot of people who are new to woodworking. Why use spar varnish rather than regular varnish? What are the differences between them and what is the purpose of each? Well, the basic difference is about what your wood project is intended for. Let’s make it clear.
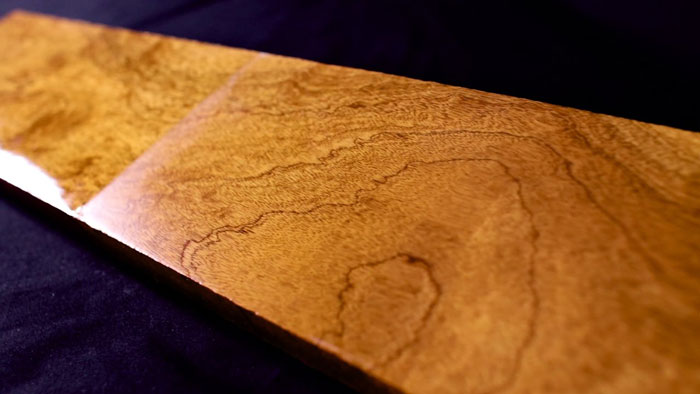
Wood that is intended to be placed and used outdoor has to deal with a number of factors that wouldn’t revolve around indoor intended wood. Take into consideration the constant change of humidity and temperature.
Your outdoor wood will have to endure all these alterations, not to mention the sun rays all over the day. And oh, don’t forget about the rain.
In such cases, your wood won’t be able to sustain for long if it is of regular varnish. The swelling and shrinking of your wood caused by the change in humidity alone will be enough to break down your regular varnish within a short time.
And for that reason, spar varnish is used when it comes to varnishing wood that is to be used outside.
Spar varnish is purposed to project long-lasting protection to your piece of wood. It is designed to withstand harsh elements and save your wood from them. So, no matter how the weather and other factors treat your outdoor wood, if it’s varnished with spar varnish, it can handle them all.
Sounds great, right? Now that you know why you are right to use spar varnish for your favorite wood, you surely are looking forward to the process. Let’s get right at it!
Necessary Preparations before Applying Spar Varnish
Good work always requires good preparations. If you’re looking for the best outcome of a work, you have to make sure you do it the best way. So, follow these steps before you start applying your varnish.
Choose Your Workspace
First comes the workspace. You need to choose a place that is well-lit and has decent ventilation. A well-illuminated place will enable you to spot defects such as dents, debris, air bubbles, etc. Good ventilation is necessary because some spar varnishes have strong fume that may cause nausea.
Make Your Workspace Clean and Free of Dirt and Dust
This is very important. The undried varnish is prone to drawing dirt and dust particles. So, if you don’t want your wood to be ruined, clear your workspace before getting to work.
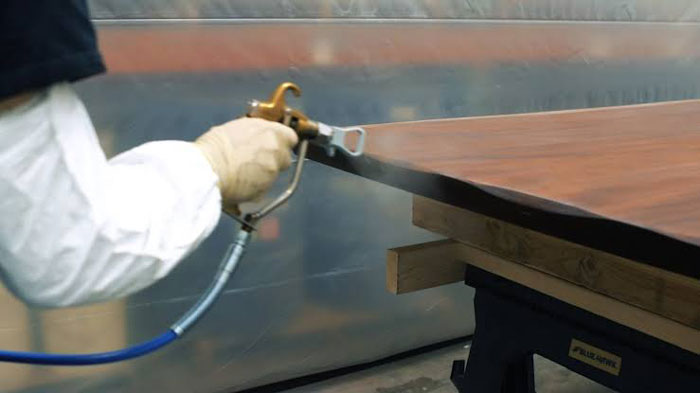
It is recommended that you don’t varnish where you have sanded. Even if you do, vacuum the dust out and mop the floor wet. If you are planning to work outside, don’t do it on windy days.
Be Sure to Check the Humidity and Temperature
As advised, it is better to do your varnishing when the temperature is between 70°F and 80°F. Too hot an area will make your varnish dry quickly, which will form air bubbles. Again, too cold an area will slow down the drying, which will give more time for dirt to stick.
Get Some Protection
Why don’t you take some protection for you? If you’re wearing a new shirt or your favorite shirt, better take that off. Because you won’t like it when that gets stained. Get some protective gloves and glasses. You may also wear a ventilated face mask.
Now Get Your Tools Ready
Varnishing requires only a few supplies that are available at your nearby hardware store. You will need –
- Spar varnish (that’s obvious)
- A paintbrush (natural bristle brush is preferable)
- A little stick (for stirring purpose)
- A clear measuring cup (preferably small one)
- Paint thinner (turpentine or mineral spirits)
The Process of Applying Spar Varnish
You are now all set to apply the spar varnish. Take the following steps to complete your wood project and have it ready for use with the drying time given –
Step 1: Stir Your Spar Varnish
Do not shake the container of your spar varnish. Open it slowly and use your stick to reach the inside thoroughly. Then start stirring the varnish carefully.
Try to be as slow and gentle as you can while stirring the varnish; otherwise, it may create air bubbles, which is unwanted at this situation.
Step 2: Thin up Your Varnish
Take the measuring cup and pour a little amount of varnish into it. How much exactly to pour? That depends on the size of your wood. However, it is always good to start with a little amount, as within the process, you can add more.
Then pour in some paint thinner and make a mixture using the stick. Stir the mixture carefully, too.
As suggested by experts, you can make it 20-25 percent thinner when applying the first coat. And for subsequent coats, go with 5-10 percent. For instance, if you are going to fill three quarters of the cup with varnish for the very first coat, pour in thinner of one quarter.
And for the following coats, mix one ounce of thinner with around nine ounces of varnish.
Step 3: Brush the Spar Varnish Lightly
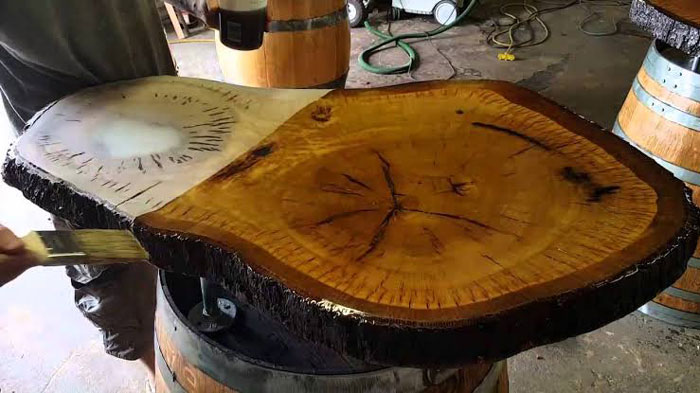
Take the brush and dip only the tip into the mixture. Then start applying the mixture over your wood, slowly and gently. Apply it in the direction of your wood’s grain. Do not brush it back and forth.
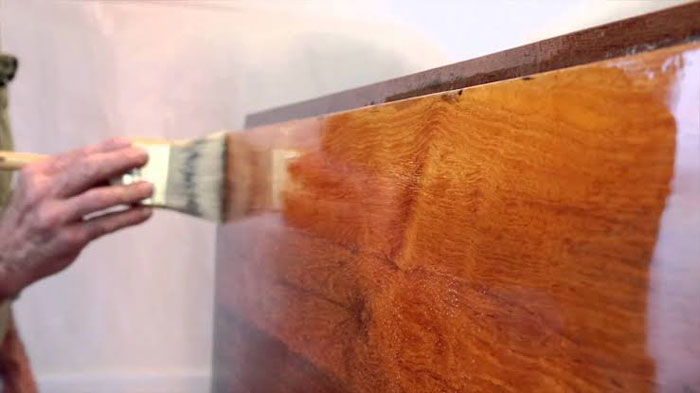
Touch the brush at one corner, and draw it straightly in the direction. After finishing one line, move next and proceed to do another line of it. Keep repeating the same process until the whole area of your wood is covered. Meanwhile, don’t forget to dip your brush into the varnish mixture to keep it wet.
Step 4: Tip-off with Brush while Your Wood is Still Wet
After covering up the whole area, now it is time to tip-off. Refrain from dipping the brush again, and now start brushing softly again. Firstly, hold the brush to a corner and draw lines straightly.
As mentioned before, do it in the direction of wood’s grain. Keep doing this process all over the area. This will make the surface smooth and eliminate the creation of bubbles and streaks.
Step 5: Apply More Coats and Sand
Your work is not complete with only one coat. Most of the wood projects require a number of coats, with intervals given in between. Let the varnish dry off after your first coat – preferably for 6 to 10 hours, or even more.
How do you understand that it’s dried? Well, it is dry when the surface doesn’t feel gluey. When it is dried, again apply a second coat in the very same process, and let it dry.
Later on, following the second coat, you can now sand the surface with a sandpaper of 320-grit.
If your sandpaper gets clogged up with residue, then the varnish hasn’t dried completely yet. Wait a few more hours and try again. After sanding, at least apply one more coat. However, for bigger projects and furniture, try to apply a few more coats, so you get effective varnishing.
Conclusion
When it is about wood objects for exterior use, spar varnish does the best job. The valuable wood of yours needs to be protected and preserved so that it gives you service for a very long time.
Although the easiest of an overall woodwork process, spar varnishing keeps primary importance for the durability of your project. As you know by now how to apply spar varnish, you don’t need to worry anymore about that. Let’s go get it done then!

