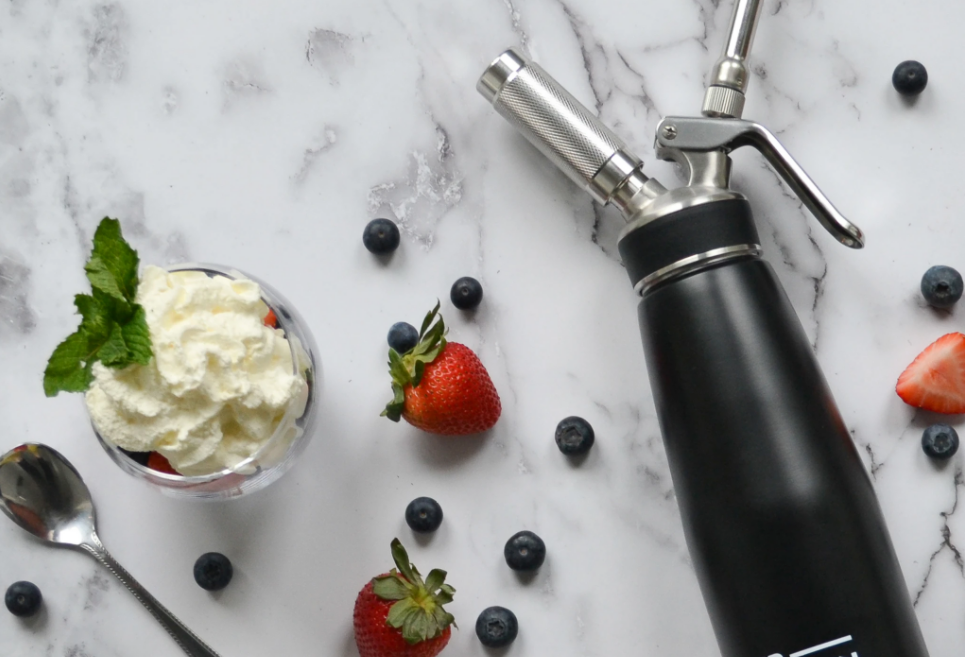
The ability to create culinary specialties in your kitchen, whether for yourself or your close ones is fantastic. If you have a passion to prepare food, having a utensil like a whipping cream siphon is essential to creating certain recipes. The compliments that will follow your effort will make you feel great and will motivate you further to become even better.
The canister for making whipped cream is used in a way that incorporates gasses within the milk. That way, when you press the button the pressure of the gas makes the milk foamy, and you can style your recipe like that.
Although you can still do everything by hand, we have made this article to show you what is the best way to use the whipped cream canister properly for better efficiency and results.
1. Be sure that it’s clean
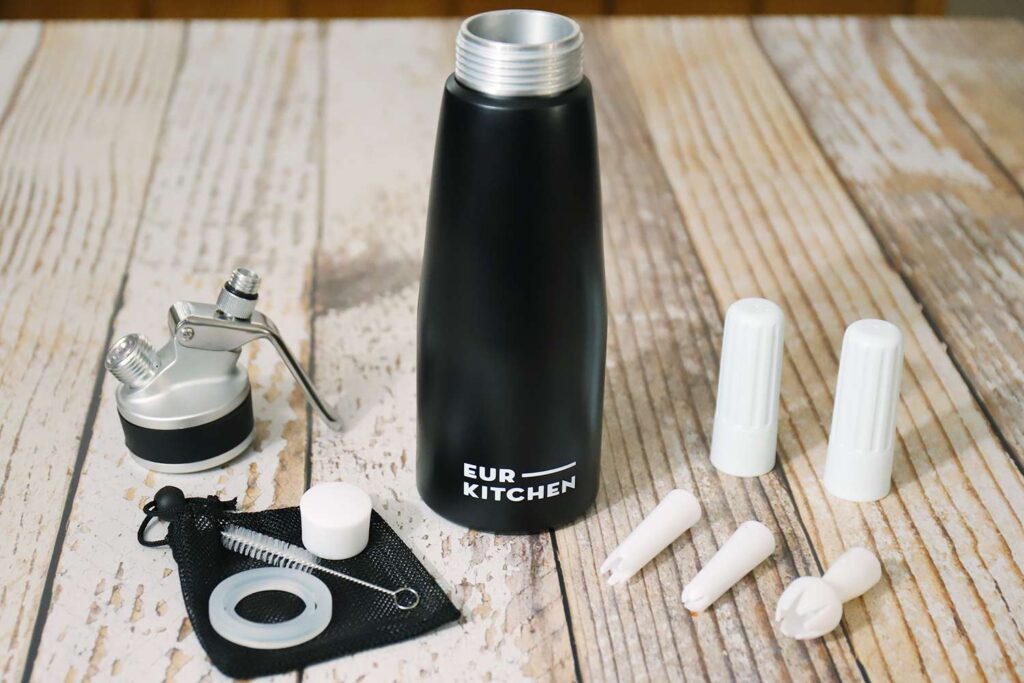
Before you start with everything else, you have to be sure that you have kept your canister clean, otherwise, the results might not be up to your expectations. Clean every component separately, and leave them out to dry out before you use them as suggested by Mr. Nang.
2. Use a tip of your preference
The place where the cream comes out, in the end, is the tip. Depending on how you want your decorations to look, use that type of tip. If you have never done this before, you can look into your recipe and see what is a type of tip is required for the same results.
When you have chosen the one that will suit your delicates well. Be careful to place it back well, to avoid any spills at the end.
3. Insert the milk and the other constituents

After the tip placement, it is time to insert all of the things that you want your product to be consistent with. Keep in mind that you have to use a special type of milk with a larger fat percentage. In addition, you can add sweeteners, and other flavors to make your toppings taste great. When inserting the liquids don’t go above the markings of maximum capacity.
When you fill the canister with the right amount of liquids, connect the top tightly. Also, be careful not to miss align the threads because you can have leaks when the gas is inserted.
4. Screw the gas container in its place
The last component that you have to put in place is the oxide container. Assure yourself that you have the smaller part facing up. Screw it in slowly until you hear the release of the oxides, after that screw it all the way, and tighten it well.
5. Do a couple of shakes
To have the gas incorporated into the liquids, you should give a couple of shakes to the mixture. You don’t have to do this too much, but just enough so everything combines well. That creates pressure that is released when the handle is pressed.
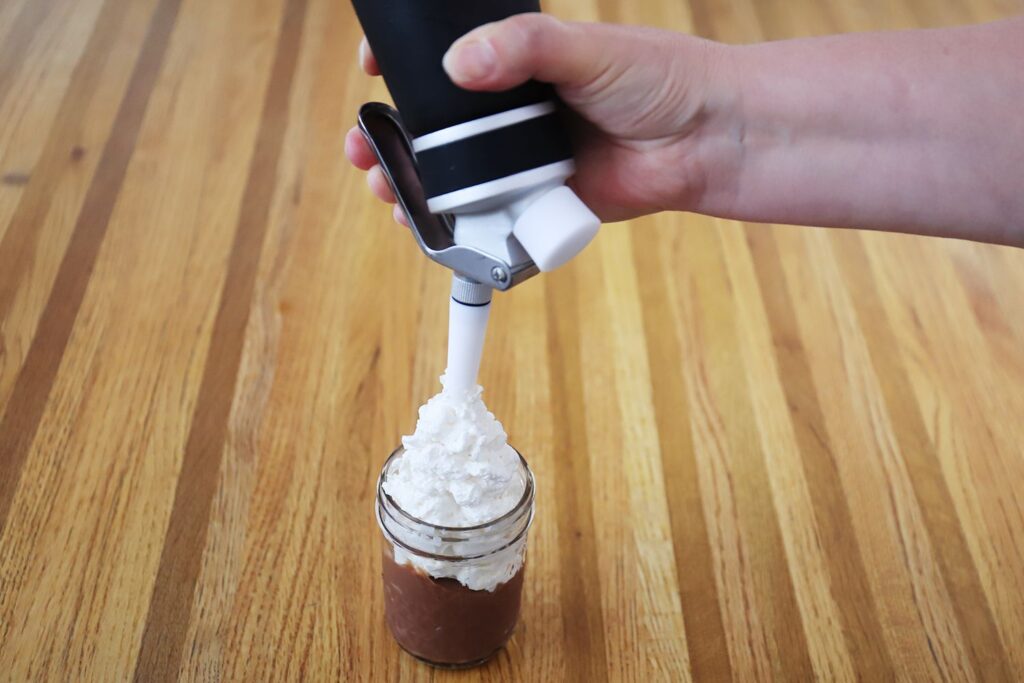
6. Press the handle and use the siphon up to your taste
In the end, press the handle and decorate your drinks or food well. There are certain techniques that you might learn for better decoration, however, the basics are always enough. If the cream is too rare for you, give a couple more shakes and you should be good to go.
Make sure you clean everything up after you are done, so you can use this tool the next time without obstructions.