All Home decor aficionados out there! Are you listening?
Hold on tight; because we are here to discuss a new and trusted method to add life to your house. Who does not like creating something out of their own bare hands?
It is the greatest pleasure that one can have as it gives us a sense of satisfaction, pleasure, and achievement of completing a task.
To talk more specifically, we are talking about an element that is used by amateurs, professionals alike.
To bring a sense of character into a room; add depth to it and also to bring out subtle variations in light intensity in the room, this can make all the difference to a room by giving it a life of its own.
That element commonly used is wood.
Wood as a material is known by all, but a general description may state that it is a collection of the hard fibrous material.
It is the central part of the trunk or branches of a tree and is used for fuel, and more importantly to design cupboards, chairs, bookshelves and many other interesting objects if we put our mind to it.
But there is one design that nobody can beat and always works best on wood giving it that distinguished and noble feel.
It is called the distressing of wood. Do not be shocked that is not a typing error.
The term comes from the Latin word ‘distringere’, which means ‘to stretch apart to change’.
See Also:
- Wood Lathe Accessories
- How To Remove All Types Of Glue From Wood?
- How to Become a Carpenter: A Beginner Friendly Guideline
- How to Join Two Pieces of Wood Side By Side?
What is Distressing?
Distressing is a term used to describe a process that is used for decorative purposes to cosmetically, and only in appearance change the look of the wood.

The process makes it look aged, look older than it is; giving it that pristine magnificent touch as beautiful as an aged wine that brings out the right flavors.
Distressing is different because in this process one goes through the hardship of intentionally;
- Sanding down on the wood
- Trying hard to make it look old and used
- Exposing the different corners and parts of the wood to try and give it that regal and majestic appearance.
It is more of a specific technique rather than a refinishing one.
For those who do not know, the guide and steps to distress your wood correctly without damaging it are as follows;
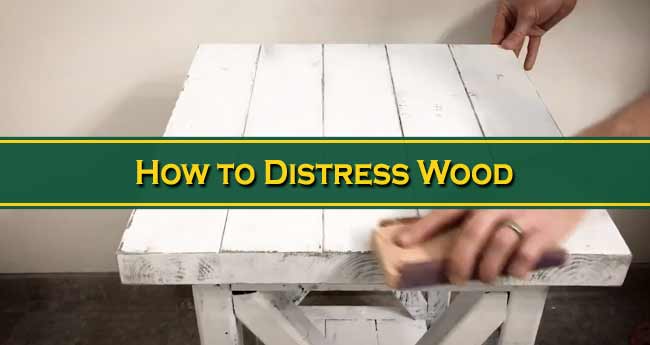
- Firstly, the most straightforward technique that we use is sanding it down. Take standard sandpaper and get to work sanding around the edges of the furniture, vary your force to give it a natural feel and look.
- Another method includes sandwiching two blooms of a word with plain gravel and then stomping about on the wooden board with your feet, which will cause indents on the surfaces, leaving behind unique patterns.
Furthermore, when going about this process make sure to repeat for both the sides of the wooden board to get an even structure.
The common thing in the methods discussed above is that they all include the application of physical force to deform and give the wood a natural feel.
Also sometimes just the blunt force from hitting a hammer randomly on the wood help in creating beautiful patterns as it imitates the impressions that are caused by strong use.
Driving nails into the wood and hammering hard on one side leaves behind wormholes and gives the impression of age and grandeur.
Physically damaging it has its perks of lending a dignified look to the piece of wood. However, it should not be overdone as it in extreme cases causes damage to the wood.
Another method of distressing the wood involves trying to change its cosmetic look by painting it. Firstly, the wooden piece is sanded a bit to even out the texture and help in longer retention of paint.
A specific systematic procedure should be followed while sanding, going about evenly in a nice circular fashion around all the edges.
The following steps are comprised in this method;
- Firstly, take a lighter color, most preferably white and apply it onto the wooden piece, take a more casual outlook towards this coat as you just need to cover the whole of the piece once.
Do not use too much paint as it spoils the effect. Now you should take a darker color and paint it on the wooden piece and let it dry.
- After the second coat has been applied, one can unleash their creativity and be as random and expressive in their work as they like.
Change and vary the amount of paint used and the kind of strokes used to paint it to achieve the desired level of smoothness and depth.
You can also sand it to give a more rustic, battered feel than usual.
- You may be confused as to what it is that we are trying to achieve, Firstly we have used, and after letting it dry for a day, we used generous amounts for the second darker color which can be applied for many coats.
What this essentially does is create an illusion and feel that the piece has been painted upon many times.
- Staining is good because it adds a depth and old age to the wooden piece. Take an old cloth and stain the wooden piece unevenly blotting randomly.
Additional costs can also be used. Stain should be chosen correctly which properly compliments the color of the wooden piece.
- Using the right stain brings out the dents and gives it a comfy feel. After applying the stain, wipe out wet areas thus giving a faded texture and appearance of age and a sense of age-old timelessness.
After these, it is done and dusted. One should add a final clear coat to preserve the distressed look that has been achieved.
Distressing is a thankless job and can be done by anyone given they can learn the necessary skills. It can infuse life and character into any piece of wood.
When done correctly, it ages the piece timelessly and gives it the feel and touch of an antique piece which will last forever, in the minds of those who glance upon it.