While woodworking, there will always be a danger when you are working with power tools. Whether you are fixing it onto the bench or using it with your hand only, the chance of slipping the tool out from your hand is very high.
If that happens, unfortunately, you might injure yourself along the process, and due to that, you have to work your way up from ground zero. So, the smart way that you should go for is using the router table.
When you have tasks related to woodworking, the plunge router will come in handy. The motor spins at very high speed, and with this motion, you will be able to cut the wood with the drill in any of your preferences.
But the enormous speed makes the tool very dangerous to use, and it is highly recommended that you should have a good grasp of all the tools and techniques beforehand.
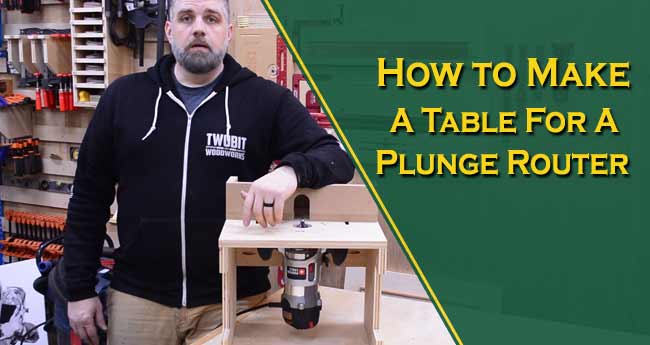
To be on the safer side, you must know the procedure to build a router table for a plunge router. There are various top rated router tables around the world, and the good thing about it is that it will make your work comfortable and flexible. Following the article, you will find out all of it. So let’s check it out.

Necessary Equipment
- Plunge router
- V-Groove router bit
- Wingnuts
- Carriage bolts with washers (2 pieces)
- A quarter-inch of ply
- One and a half-inch of Hole saw (Very precise in cutting holes in a round shape)
- A half-inch of the straight bit
- Zip tie
- Pencil
- Clamp
- Circular saw
- Safety goggles
- Gloves
- Dust mask
- Vacuum cleaner
How to Make a Router Table for a Plunge Router: Easy Steps
Below, you will find out the step by step guide written in a very easy format for your proper understanding.

Step 1: Set Up Everything
Before you start your project, wear all the protective gear gloves, safety goggle and dust mask. Clean the area with the vacuum cleaner. Take all the equipment mentioned above and arrange everything in a specific place. If possible, make a checklist to keep everything on track.
Step 2: Cut the Ply
Cut the ply safely and patiently. This board will be the mounting part for your router. As routers aren’t very large like other power tools, cut it according to its length. The standard cutting size is within 14 to 16 inches. To make pieces of a clamp, you can cut some moderate length of ply.
For accurate cutting, you can use the pencil to mark the area where you are going to do the cut.
Step 3: Adjust the Position of the Router
After you are done with the sizing of the board, choose a position where you are going to put the plunge router. It would be best if you left some extra spaces so that the additional area can be used to install other things.

Step 4: Make Hollow in the Board
As you have to mount the router onto the board securely, you should create holes according to the adjustment of the router. And, you won’t have a hard time doing that as the mentioned size of the ply is moderate.
Step 5: Fit the V-Groove
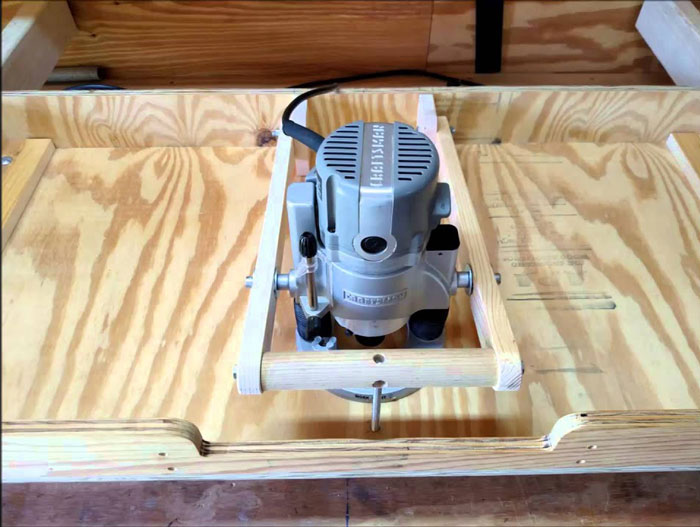
Place the router onto the board and check whether the hollow that you have created are getting fitted perfectly or not. If not, you have to restart the process again.
Take the pair of v-groove and put it in a way that it is facing upwards on the board. Place the setup bars onto the top of the v-groove and adjust it in a way that it fixes its position.
Step 6: Fix the Clamping Blocks
To fix it tightly onto the board, make narrow cuts on it and then put them down in a distance where it will not come in contact with the footplate of the plunge router. For additional grip, take two bolts and use them in each clamp. Just make sure that you make inlays onto the surface of the board before you attach the bolts.
Step 7: Finishing Part
You are done with major portions of the important part. Place the plunge router and check how it is performing on the newly made router table. If you are satisfied with everything, congrats! You are successful with the DIY project.
Finish it off by cleaning the whole area again with the vacuum cleaner. Put your gears on till the time you are finished with everything.
Tips To Making Router Table for a Plunge Router
- Drill the hole onto the board precisely so that the router’s fit can fit easily.
- Don’t make the cut way too deeper than normal. If you do it accidentally, you will lose the quality of the wood material.
- Check the clamps and make sure it is properly fixed in a downward position.
- Always keep your fingers at a considerable distance from the power tool. While you are cutting, be vigilant from start to end.
- The tool comes with a user manual. Please go through the instructions and have a good understanding of the way you have to use it safely.
- Do you work in a quiet and private place? It is better that you can be detached from distraction as much as possible because, at the end of the day, the accuracy of this project will be the main highlight.
- Consult with the professionals to gain additional insights. You will not be disappointed with their suggestions, so give it a try.
- Leave your kids out of the project area. This task includes a sharp object, electricity, and many more. So, it is better to keep them busy.
- If you are interested in getting new updates about modern routers, simply Google ‘best woodworking router for present year’. You will be able to see the latest ones along with user reviews and pricing.
Conclusion
Maintain the steps according to the article. Have a good time while you are making the router table.
You can also check other woodworking tips and necessary information from other articles of ronaldphillipsantiques.com.
Take care of yourself.

