Whether you have a small or big router table, it will be a challenge for you if you don’t have a proper table fence. Without it, your woodwork won’t be up to the mark. It will be a disappointing experience if your masterpiece has failed to reach your expectations.
Router table fence is very standard and flexible. The good thing about this is that it fits comfortably with any router table. You don’t have to modify or customize the fence or the table due to that.
If you are a DIY project worker, you must know all the tools and techniques that will get your job done smoothly and efficiently. With the help of this article, your problem will be solved, and you will surely get the output that you have envisioned beforehand. So, without further ado, check out the guideline about this DIY router table fence plans.
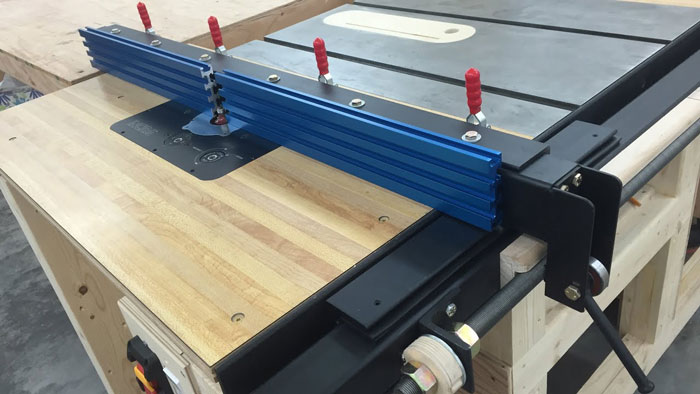
Necessary Equipment
- Safety goggles
- Safety work gloves
- Dust musk
- Oak or maple plywood (1/4 inch)
- Measuring tape
- Drill
- Screws
- Clamp
- Pencil
- Vacuum cleaner
- Sandpaper
- Protective coating (Lacquer)
- Oil
Steps to Build Own DIY Router Table Fence
Below, you will find out the step by step guide on how to make a router table fence written in a straightforward format. Let’s dive right into it.
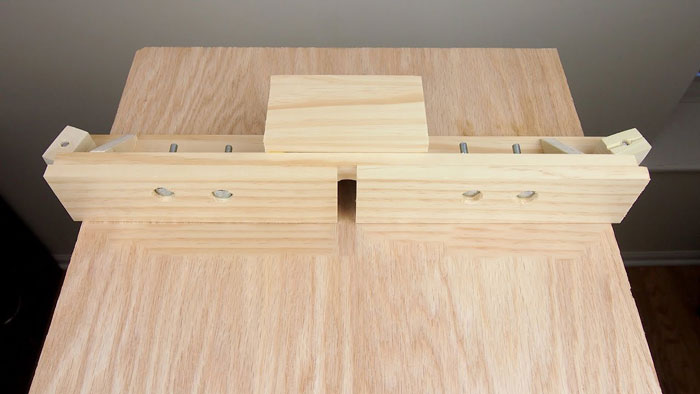
Step 1: Organize Everything
Clean the whole area first with the vacuum cleaner and then wear your safety gear like gloves, goggles, and dust mask. Assemble all of the equipment mentioned above. Make sure the drills are working correctly and also test the other tools. The oil and glue should be up to date.
Step 2: Make the Base
Take the measuring tape and start measuring the surface of the router table. With this measurement, you will be able to adjust the fence onto the table accurately. Use the pencil to mark all the holes on the fence because you will do the drilling on that marked area.
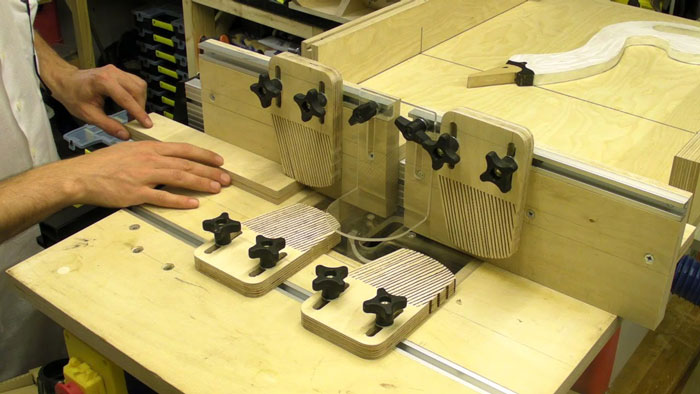
Measure the length, width, and height of all the edges where the cutting will take place. For your ease, gently detach the table base (top) before you start drilling.
It would help if you used the oak or maple plywood for the base because you can buy it for a moderate price, and not only that, it is very comfortable to work with. Follow the dimensions of the table surface precisely while you are cutting the plywood. Create the base according to your criteria.
Step 3: Drill Holes
Use the clamp to fix the base onto a specific point. While you are drilling, it is highly probable that the base will shake, so to avoid this kind of problem, use this strategy. Then, drill the marked holes and ensure all the marked areas are complete.
Step 4: Make Two Uniform Openings
In this step, you should make two openings of uniform size for the fence. This is a very crucial part because the openings will accommodate the total length. There will be spacing between the slots, and you should measure it so that you can drill and create holes for the two screws to get inserted.
Make a small fence by using half an inch of plywood. Finally, screw it carefully onto the new holes.
Step 5: Fit the Fence onto the Table
Pick the newly made fence and attach the base of it onto the router table surface by using the screws. Move it for a couple of seconds to check any loose ends. If the movement is alright, you won’t find any resistance.
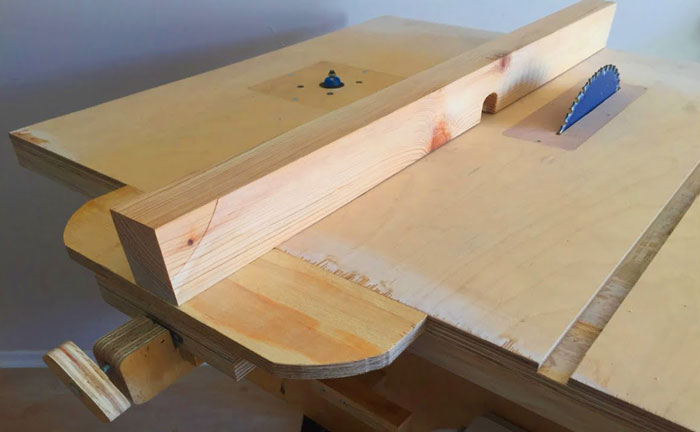
Step 6: Finish It off
As you are done with the router table fence, you can give it a smooth and beautiful look by simply sanding the guide and the table base. Check the sanding procedure continuously with your hand if you find any rough areas, sand that part also. Damp wool into the oil and apply it to the overall areas.
You can even use lacquer as a good protective mechanism for the wood if you are interested in it. This liquid will shield the wood, and you won’t experience any friction during the woodworking project. As you are done with the work, clean the area again using the vacuum cleaner. Congrats! Your DIY task is complete.
Tips To Build Router Table Fence
- To get additional insights, you can look into the latest wood router discussions that will dominate the market in the upcoming future.
- Lacquer and oil are an optional step for you. You can skip it if the whole procedure crosses your budget.
- Consult with the experienced DIY workers to get different information regarding your work. You never know, they might tell you some smart tricks that you can apply to level up your work efficiently.
- Always use protective gear in all cases. Whether you are working with sharp objects or not, wear gloves. In case of the task that generates dust, don’t forget to wear goggles and a dust mask. It is best to take protective measures beforehand.
- As this is a DIY task, you should pick a spot where there is silence, and have an open space. It would be best if you had a full focus to get accurate results.
- When it comes to the kids, keep them busy with their favorite stuff. In addition to that, inform them to avoid coming to your working station during your scheduled time.
- Use the drill heads according to the size of the marked holes. This will make sure you don’t create any large hole accidentally.
- Be mentally prepared that you will have to spend some considerable amount of time on this project. So, be patient and calm throughout the whole task.
Conclusion
Making a router table fence is not tough to work if you are aware of all the techniques. Note down all the key points from the steps and go through it a couple of times. This will increase your knowledge, and after you are finished with this project, your confidence level will skyrocket.
Be careful and enjoy your work. All the best.
Few Other DIY Plans:
- 11 DIY plans for beginners to build a workbench
- DIY build your own wood lathe
- 9 DIY plans: How to build a homemade router table?

